English
 русский
A corner window is generous with light and awkward with fabric. Two walls meet, the glazing turns, and a standard rod can leave the corner looking unfinished. A corner window curtain does not need a fully custom build to look custom. It needs a clear plan: the right rod path, brackets that suit the wall, and curtains that return neatly to the wall instead of cutting across the glass.
We work with curtain hardware every day, from rods and tracks to brackets, rings, and finials. The best corner installations are rarely the most complicated. Each part has a job, and the curtain has room to move.
Content
- 1 Why Corner Windows Need a Different Curtain Plan
- 2 Start With the Rod Layout, Not the Fabric
- 3 Brackets Make or Break the Corner
- 4 How to Measure a Corner Window Curtain Project
- 5 Choose Curtains That Handle the Corner Gracefully
- 6 Hanging Tips for a Clean, Custom Finish
- 7 Common Pitfalls to Avoid
- 8 When to Use Tracks, Returns, or a Hybrid
Why Corner Windows Need a Different Curtain Plan
A straight rod treats the whole corner as one opening. That works when the corner is open and the curtains stack back on the outer edges. It fails when the return is shallow, the trim is deep, or the curtain must close across two panes without leaving a slice of glass uncovered.
Think in three zones: the left run, the corner turn, and the right run. Each needs enough support to keep the rod level and enough clearance for the curtain to glide. Ignore one zone, and the curtain may rub the wall, gap at the corner, or look heavier on one side.
- Rod path: one continuous rod, two rods joined at the corner, or a ceiling track that follows the turn.
- Return: the short distance the curtain wraps back toward the wall to block light and soften the edge.
- Stack-back: the space the open curtain needs so it does not cover the glass during the day.
Start With the Rod Layout, Not the Fabric
Before choosing linen, velvet, or a sheer, decide how the curtain will travel around the corner. A single long rod with a corner connector gives a clean line, but it needs solid intermediate support. Two separate rods can be easier to install and adjust when the walls are not perfectly square. A ceiling track is often the quietest solution when wall space is tight.
Rod diameter matters as much as length. A slim 16 mm rod can suit a light sheer, while a 25 mm or 28 mm rod is safer for lined curtains and a long corner run. If you are comparing profiles and diameters, our metal curtain rod range is a useful starting point.
 Metal Curtain Rods in Multiple Diameters and FinishesHigh-quality iron rods in 8–28 mm diameters and varied styles, finishes and lengths, useful when matching rod size to curtain weight and corner runs.View Product →
One Rod or Two?
Choose one rod when the corner is open, the span is moderate, and you want an uninterrupted look. Choose two rods when the corner has a deep return, when the walls need different bracket positions, or when you want to adjust each side independently. In both cases, plan a center or corner support so the rod cannot sag when the curtains are closed.
Brackets Make or Break the Corner
The bracket is where a corner curtain plan either solves the wall or fights it. A bracket that projects too little lets the curtain rub the trim; one that projects too far can make the rod look detached. The right choice depends on the wall, the rod weight, and whether you need one layer or two.
| Mounting choice | Best for | Check before drilling |
|---|---|---|
| Side-mount bracket | Walls with enough vertical space beside the window and a simple rod run | Bracket arm clears the trim and allows a return |
| Ceiling-mount bracket | Full-height curtains and corner glazing with little wall space | Safe ceiling fixing and correct drop length |
| Double bracket | A sheer plus a blackout layer on the same corner window | Projection, rod spacing, and corner clearance |
| Corner connector with support | Long rods that turn a corner or join two runs | Rod diameter, connector fit, and sag control |
For narrow wall returns, a side-mount bracket often keeps the rod close to the window while still allowing the curtain to wrap back. Our side curtain brackets are designed for this kind of compact installation.
 Side-Mount Curtain Brackets for Compact Window ReturnsAluminum brackets for 16, 19 and 25 mm rods, suited to side-mounted corner, bay and limited-space installations that keep the rod close to the window.View Product →
If a project needs a specific projection, finish, or mounting plate, our OEM/ODM service can adapt the hardware to the specification rather than forcing the window to fit a standard part.
How to Measure a Corner Window Curtain Project
Measure the hardware after you have decided the curtain style, because stack-back and return change the rod length. Use a metal tape and keep all measurements in the same unit.
- Measure each window width from trim to trim, then measure the corner return from the trim to the adjacent wall.
- Add stack-back on the open side, usually 8 to 12 inches, and confirm that the curtain will clear the corner when opened.
- Set the height at 4 to 6 inches above the window frame, or higher for a more generous look. For ceiling tracks, measure floor to ceiling instead.
- Mark bracket centers with a level. Check for studs or use fixings rated for the wall material and curtain weight.
- Confirm the drop after the rod is installed, because brackets and rings change the finished length.
On a corner window, the critical measurement is not the glass width. It is the distance from the bracket to the corner and from the corner to the first ring or glide. That is where a curtain either turns cleanly or bunches.
Choose Curtains That Handle the Corner Gracefully
Fabric choice matters less than how the curtain behaves at the corner. A stiff, heavy curtain needs more stack-back and a stronger rod. A light sheer moves easily but can gap at the return if the rod is too far from the wall. Medium-weight linen blends and lined cotton are often the easiest compromise.
If you need two layers, a double bracket keeps sheer and blackout panels from crowding each other. Space the rods far enough apart that the back panel can move without rubbing the front one, and check that both layers clear the corner when open.
 Double Curtain Brackets for Two Rod LayersAluminum brackets in multiple rod-size combinations keep sheer and blackout panels spaced apart, supporting separate light control and privacy in bedrooms, living rooms and hotels.View Product →
A Note on Returns and Fullness
A return is the part of the curtain that wraps back to the wall. It improves light control and makes the window look finished from the side. Allow enough fabric for the return plus normal fullness; a common starting point is 1.5 to 2 times the rod width, depending on the heading and fabric weight. At the corner, test the curtain open and closed before you trim or hem.
Hanging Tips for a Clean, Custom Finish
Install the brackets before you assemble the full rod. It is easier to adjust a bracket on its own than to fight a long rod already loaded with curtains. Use a temporary string line or laser level across the corner to confirm both runs sit at the same height.
- Work from the back: hang the return side first, then the leading edge, so the curtain wraps naturally.
- Check the glide path: open and close the curtain several times before steaming or hemming.
- Train the folds: steam the curtain in place and arrange the pleats by hand rather than forcing a sharp crease.
- Leave a little clearance: the curtain should clear the sill, radiator, or floor by a consistent amount across both walls.
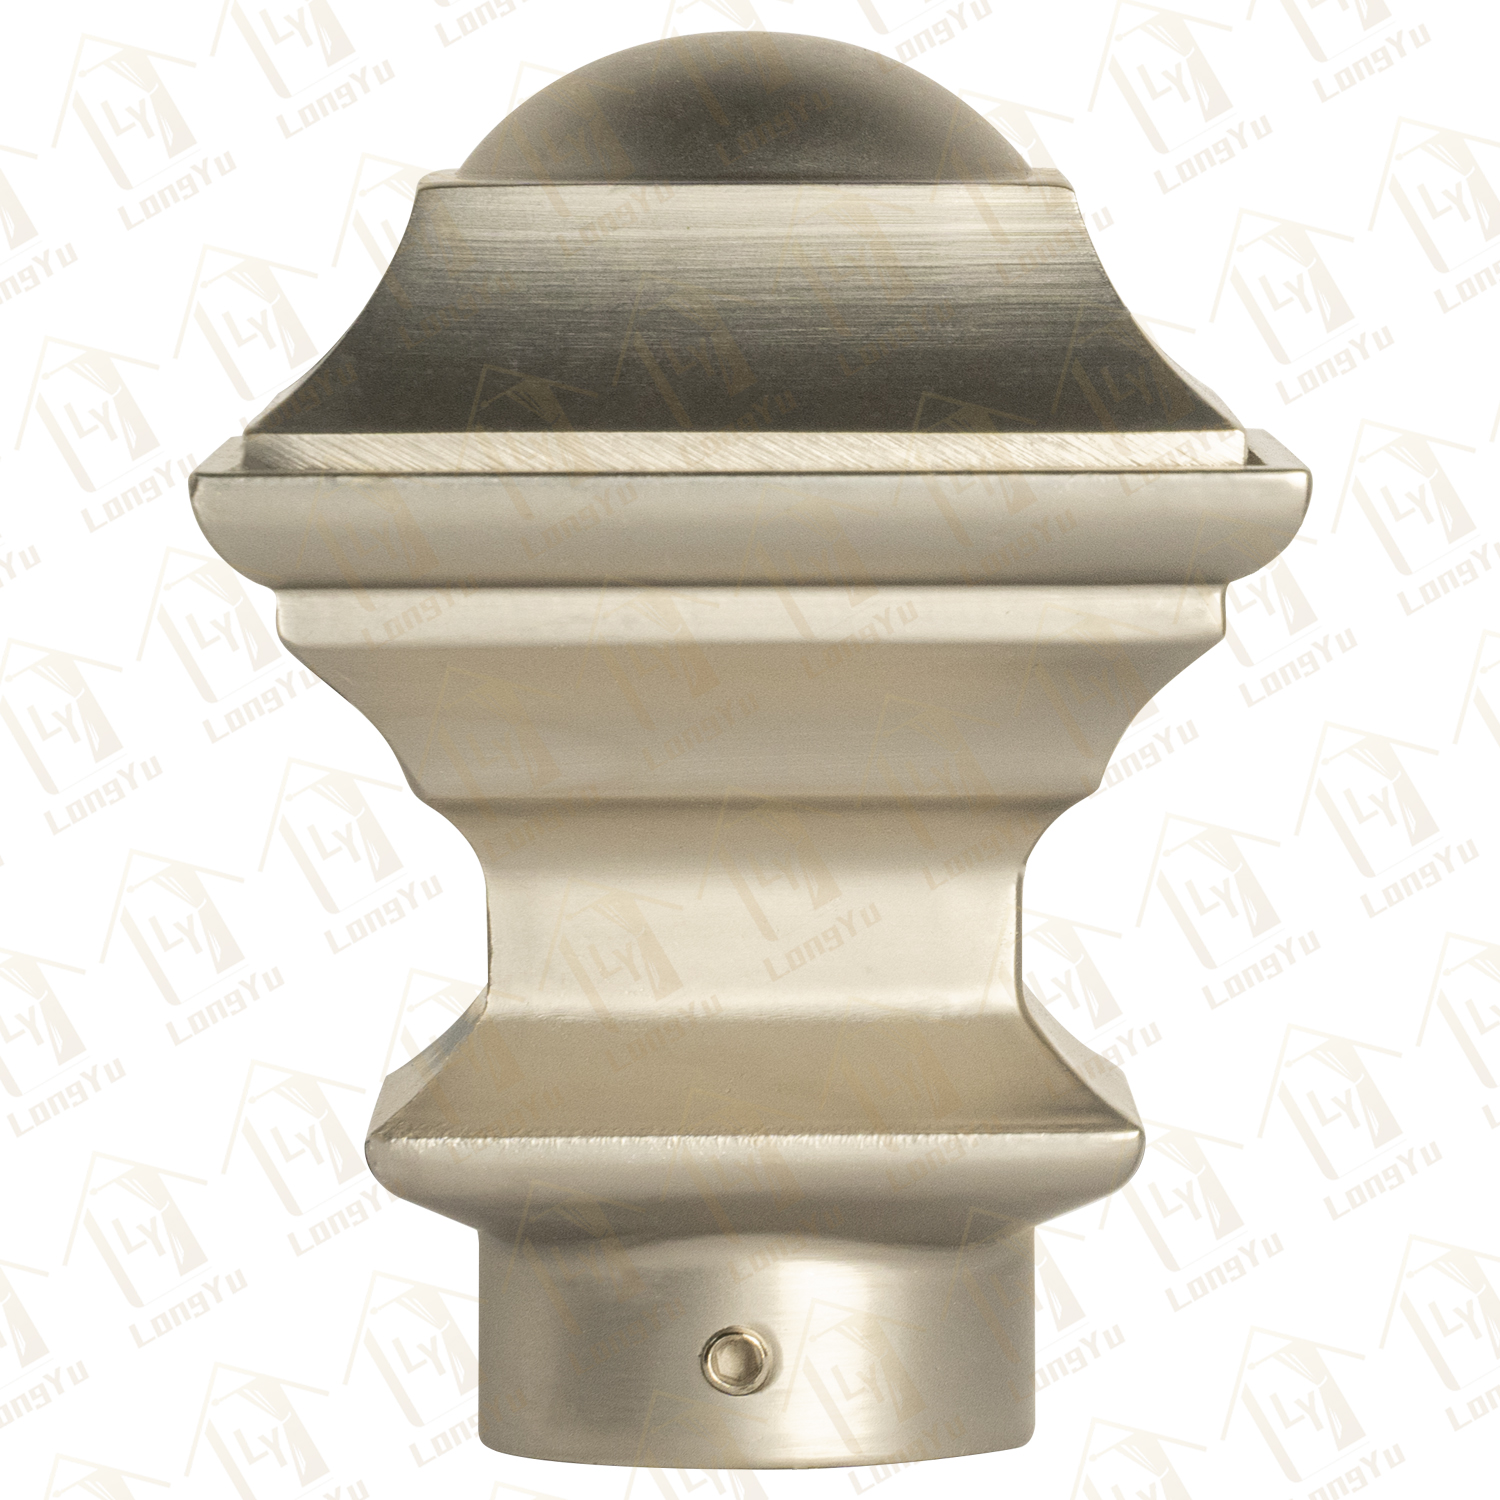
- Finish the ends: finials and end caps keep rings in place and give the exposed rod end a deliberate look.
Small details show up more on a corner window because the eye follows the turn. A level rod, even bracket spacing, and a consistent return on both sides do more than an elaborate finial.
Common Pitfalls to Avoid
Most corner curtain problems appear before the first curtain is hung. These are the ones we see most often:
- Measuring only the glass and ignoring the trim, return, or adjacent wall.
- Using one bracket in the middle of a long corner run without a corner support.
- Choosing a rod that is too small for lined or blackout curtains.
- Forgetting that the curtain needs somewhere to stack when open.
- Installing the rod too close to the window, so the curtain rubs the frame.
- Mixing a rod on one wall with a track on the other without checking the transition.
None is difficult to fix at the planning stage. They become expensive or visible after the holes are drilled.
When to Use Tracks, Returns, or a Hybrid
A ceiling track can be the cleanest solution for a corner window with little wall space. A flexible track follows a gentle curve, while a straight track with a corner bend keeps the curtain close to the ceiling and makes the room feel taller. Tracks also spread the load across several brackets, which helps with heavy curtains.
A hybrid approach is possible, but only when the two systems meet at the same height and the curtain can pass the transition without catching. In most homes, it is simpler to choose one system for the whole corner. If you use a rod, add a return at the corner and support the rod near the turn. If you use a track, plan bracket spacing and the corner bend before you order.
Track or Rod?
Choose a track for a minimal, full-height look and smooth operation. Choose a rod when you want visible hardware, decorative finials, or a more traditional style. Both can work; the decision should come from the room, the curtain weight, and the fixing points, not from a trend.
Corner windows reward a little planning. Get the rod path right, use brackets that match the wall, and let the curtain return to the wall instead of cutting the corner. When those three pieces work together, the result looks intentional rather than improvised. As a manufacturer of curtain rods, tracks, brackets, rings, and finials, we prefer to solve the whole system together, because that is where a corner window becomes easy to live with.